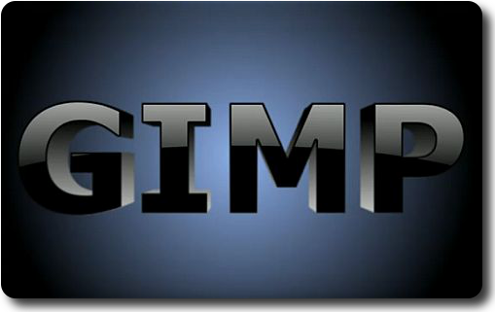
The purpose of this page is to provide entry-level training for the GNU Image Manipulation Program.
Welcome to GIMP!
"GNU" stands for, "Gimp is Not Unix." In 1985, Richard Stallman, an artificial intelligence Researcher and founder of the Free Software Foundation, adapted and modified the oft-cloned UNIX operating system into a new software program which he called GIMP. Many have since joined Stallman in developing GIMP to its present state.
GIMP shares many of the features found in Adobe Photoshop, a high-tech program costing more than $700. While GIMP is used primarily for image retouching, editing, and combining, it can also be used to create freeform drawings and basic animation.
GIMP is entirely suitable for amateur or professional work with images intended for viewing on monitors and printing on inkjet printers.
Getting Started
Jumping into GIMP is not an easy task. While some of its features may be grasped via trial and error, others are not so intuitive, leaving the user frustrated to the point of convulsion. The logical approach is to take GIMP step by step, acquainting oneself with its basic features, then moving toward more advanced concepts.
Let's start by watching a series of videos on Gimp basics. These clips will introduce you to the basic working environment, then to some easy-to-use tools. We will then begin working with layers, filters, and masking.
Adding Brushes, Fonts, and Script-Fu
GIMP comes with a set of brushes that can be used with the paintbrush, pencil, and airbrush tools. Additional brushes, filters, gradients, and patterns may be downloaded from the Internet. Install these downloaded items into the corresponding sub-folder of your Windows 7 Main Drive (C:). To do this, simply drag-and-drop them to the appropriate sub-folder (e.g., brushes to brushes, scripts to scripts):
To install downloaded fonts, drag-and-drop the downloaded fonts to the Fonts sub-folder within the Windows folder in Main Drive (C:).
Restoring Lost Options & Docks
Missing Tool Options
- Edit>Preferences>Window Management>Reset Saved Window Positions to Default Value.
- Uncheck "Save window positions on exit>OK.
Click Windows>Dockable Dialogs. Simply click the dialog that you wish to restore.
Becoming a GIMP Master
Whether you begin by duplicating the works of others or creating your own, you need to gain a thorough understanding of the concepts behind image manipulation. To achieve this, a free online resource is available, called Grokking The GIMP. This five-star reference guide will help solve your digital challenges as it leads you to a deeper understanding of image manipulation concepts. Simply click on the picture below to view.
On to Mini-Projects
Scrolling down, you will find a series of mini-projects. Most contain written tutorials, others by YouTube video. The projects become increasingly challenging as you scroll lower. NOTE: A few of these tutorials require Script-Fu. To download this plugin, go to registry.gimp.org/node/186. There you can scroll down to "How to install (Script-Fu version)" for directions.
Subscribe to:
Comments (Atom)
Motion Blur Effect
Wire Art
Changing Car Color
Photo Sketch with Balloon Text
Animated Car Lights
Animated Snowfall
Animated Swirly Water
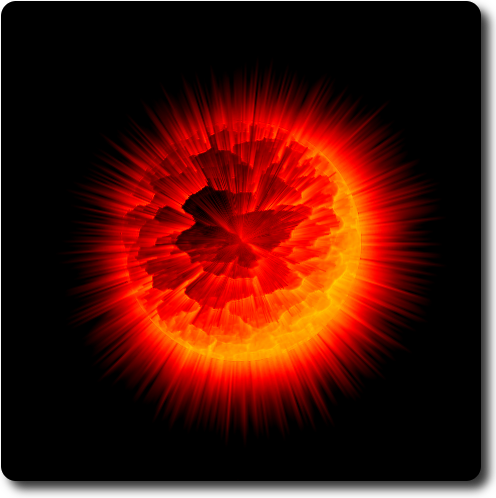
Exploding World
Bling Text
Pressed Text
Splash Text Effect
3D Pop Out Effect
Fancy Glow Effect
Image Inside Text
Glowing Rainbow Text
Wind Blast Text
Animated Glowing Text
Glossy Metal 3D Text
Chrome Beveled Text
Smooth 3D Text
Golden Silk Text
Glowing Metal Text
3D Text

Click on image for YouTube tutorial.


